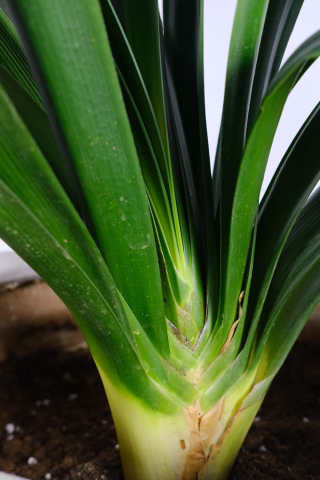
It's good to plant green vegetables on the balcony in summer, which can be eaten and cool. But what about some families without a place to grow them? Today, I will teach you a good way to use plastic bottles to grow small vertical gardens, spinach, celery, lettuce, coriander Can plant, save land, money and look good!
1. Find a plastic bottle. Cut off the bottom

2. Use the scissor tip to poke 4-6 water holes in the upper part of mineral water to facilitate drainage, and cover the bottle mouth.

3. Prepare nutritious soil according to the ratio of peat soil: vermiculite: Perlite = 4:1:1, mix evenly, and fill the nutritious soil into the plastic bottle.

4. Put the plastic bottle with soil upside down beside the wall and guardrail of your house, and fix it firmly with ropes, wires and so on.

5. Just like the above steps, screw off the cap, cut off the bottom of the prepared plastic bottle, and install the soil without drilling the water hole.

6. Stack the plastic bottles one by one as shown in the figure below.

7. Put the plastic bottles stacked together in the plastic bottles at the beginning of the bottom

8. It is still fixed on the wall or guardrail with rope or wire.

9. For the top plastic bottle, keep the cap and drill a water outlet hole on the cap.

10. Cut off the bottom of this plastic bottle and place it upside down on the top of a string of plastic bottles.

11. Pour water on top of the plastic bottle.

12. In this way, the water will gradually flow through the small hole of the cap to the plastic bottle at the lower layer, and the soil will be soaked.

13. Use a sharp knife to cut out a small square window of other plastic bottles except the first one on the top. Be careful not to cut them completely, only the left and right sides, and the lower part. This plastic bottle is equivalent to a switch, which can close the vegetables and soil without falling out.

14. Open the plastic sheet, poke a hole with your finger, and plant all the vegetables, flowers and seedlings you want to plant.

15. By analogy, other plastic bottles are planted with vegetables or flowers of the same kind. Note that 1-2 plastic bottles above can be stored without holes, and can be watered automatically at ordinary times.

16. In this way, a self watering vegetable wall will be planted, and water will be added to the plastic bottle at the top. If fertilizer is applied, it can be dissolved in the water and into the soil with the water. One month later, the lively vegetable wall was planted. It's convenient to eat while pinching.

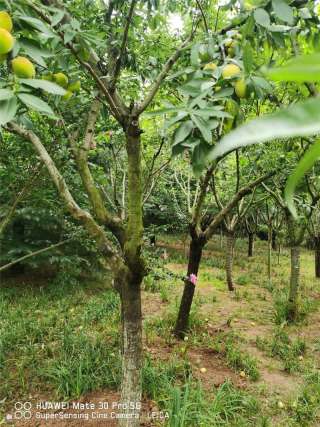
High altitude layering is a method with high survival rate and low risk in flower propagation. However, high altitude layering sounds troublesome. In fact, it only needs a plastic bottle to solve the problem. This method is applicable to all woody flowers.

1. Select a relatively strong and healthy branch, and use a sharp knife to cut two circles on the bark of the branch, the width of the two circles is about 1-2cm.

2. Peel off the bark.

3. Prepare a plastic bottle, cut half of the lower part, cut off the upper part of the bottle mouth, make the plastic bottle funnel-shaped, and then cut a seam vertically in the middle..

4. Break the vertical cut seam, put the plastic bottle around the peeled bark, and then use the wire to circle it for a few times and fix it.

5. Fill the plastic bottle with sand, vermiculite or nutritious soil, and then pour water through it. Wrap the outside and up and down of the plastic bottle with plastic bags, and try not to leak soil or water.


6. When the soil in the plastic bottle dries, water it. After 1-2 months, we will see that the white root system grows in the plastic bottle.


7. Cut the rooting branches and plant them in a flowerpot.

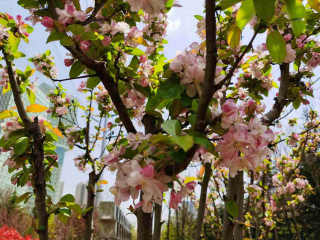
Plastic bottle cutting is basically applicable to all flowers, especially roses and gardenias, with higher rooting rate than other cuttings! Specific method, flower take Gardenia as an example to explain in detail!

1. Don't throw the plastic bottle that you have drunk at ordinary times. No matter what model, you can use it for cutting!

2. Cut a section of woody branches of gardenia, about one year old. At the bottom, cut 45 degrees, increase the contact area with water, promote rooting, cut off the lower leaves of branches, cut off half of the upper leaves, reduce nutrient consumption.

3. find a piece of foam and cut it down according to the diameter of the plastic bottle.

4. drill a small hole in the middle of the foam and insert Gardenia branches into the foam.

5. Use a wallpaper knife to cut across the top 1 /3 - 1 /2 of the plastic. Be careful not to cut off completely, and leave some parts connected.

6., insert the foam of Gardenia branches and fill the bottom part of the plastic bottle with half full water.

7., place the foam with gardenia branches into the middle of the lower plastic bottle to immerse the lower part of the foam into the water.

8. Cover the upper part of the plastic bottle back, then seal the cut with adhesive tape, and open the plastic cover at the top.

9. Put the plastic bottle in the place of astigmatism and ventilation, no need to add water, it will grow white roots in about 2-3 weeks!