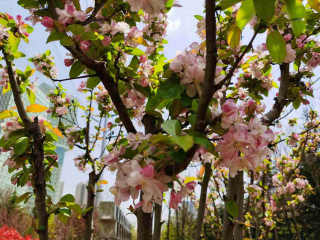
Before long, it's time for the rose to bloom. Take advantage of the spring to cut more pots, and your home will become a rose garden!

1. Find a clean plastic bottle, and use scissors to cut a knife from the top half. Be careful not to cut it all off, just leave a small part on one side.
2. Prepare the rose branches needed for cutting, and pay attention to the strong ones, so as to survive more easily. Cut the lower end of each branch by 45 °, so as to root more easily.
3, prepare a foam board, cut the foam board into a smaller circle than the plastic bottle mouth, that is, the foam board can be taken out of the bottle at will. Then the center of the foam board will be stabbed with a small hole to allow the branches of the rose to be inserted.
4, add some water to the plastic bottle, then put the foam board with rose branches into the plastic bottle, arrange the leaves of the rose, let the leaves expand as far as possible, and keep the water level in the plastic bottle as far as possible.
5. Find the black tape and tightly wrap the joint of plastic bottle for sealing.
6. After that, put it in the indoor place with good scattering light for 1 week, and then transfer it to the sun for direct radiation. It only takes about 1 week to take root.
7. After rooting, in order to ensure the survival rate, we can carry out artificial planting first. Prepare a disposable cup, first add a layer of perlite at the bottom, and then add nutrient soil, cinder and other soil, put the rose branches in it
8. When the root system grows a little longer, prepare loose and permeable nutrient soil, and put the rooting rose branches directly into the basin. Usually, apply some compound fertilizer and potassium dihydrogen phosphate, and soon the rose will grow up!
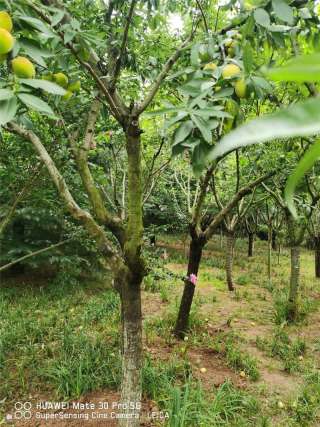
As a northerner, Huahua sometimes really envies the south. After all, the triangle plum in the South climbs the wall if she wants to, or even several meters high. It's very beautiful!

1. Prepare robust branches of Prunus deltoides, preferably semi lignified branches, with a length of about 10-15cm. Leave 2-3 leaves on the top, and use a sharp knife to cut the bottom 45 ° and then soak it in rooting water.
2. Prepare the flower mud, cut the flower mud into small pieces with the length, width and height of 3cm, and then insert the boughs of Prunus deltoides
3. Put the bougainvillea cuttings together with the mud into the tray, and then find a clean plastic bottle to cover it, put it in a place with good indoor light scattering, and pay attention to moisture preservation and air permeability.
4. It only takes about 1 month to see a white root system passing through the mud, indicating that the cutting of Prunus deltoides has taken root.
5. After rooting, put the bougainvillea in the basin together with the flower mud, first put it in a cool and ventilated place for a period of time, and then put it in a well lit place in Nanyang platform for normal maintenance. The bougainvillea will grow up soon!
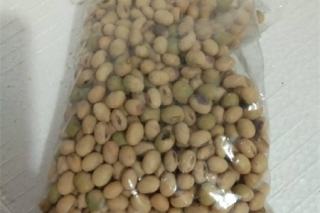
In spring, it's time to have more meat. If you want to get more meat quickly, it's just leaves!
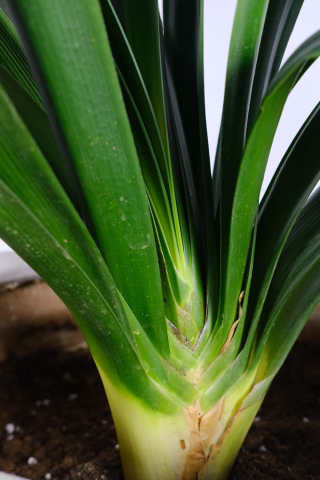
1. Roll down the leaves from the succulent mother plant, and put them in a place with good indoor scattering light to air, so as to prevent the wound from being infected with black rot.
2. Prepare a clean plastic bottle. According to the size of the fleshy leaves, use scissors and sharp knives to poke a few small holes in the middle and upper part of the plastic bottle. The hole is best made into an oval shape, while the lower part only pokes one hole for water filling.
3. First add water to the bottle, and pay attention that the water level should not exceed the water inlet poked out, then insert the fleshy leaves to dry the wound into the plastic bottle, and then put them in the place with good scattering light. If the water at the bottom is reduced, add a little. If the leaves are wilted, spray water.
4. The water in the plastic bottle will continuously evaporate to increase the humidity, so as to promote the rooting and germination of fleshy leaves as soon as possible. Wait until the discovery of the cutting of fleshy leaves rooting sprouting, you can transplant to the pot soil.
5. When removing the rooting leaves from the plastic bottle, be careful to avoid damaging the newly grown roots. If you are really worried, you can also choose to cut the plastic bottle with scissors, add some water at the bottom, and fix the fleshy blade directly with adhesive tape.